The Leclerc Tank Pre-Prototype — Breakdown & Making Of, Part 2
This is the second part of the breakdown. You can find the first part here: https://www.artstation.com/artwork/EVGwen.
See many more beauty shots gathered here: https://www.artstation.com/artwork/58lm4w.
I was tasked with developing a game-ready 3D model of an early pre-prototype unit from the Leclerc main battle tank program for the Armored Warfare project. To achieve this, I utilized a comprehensive model development pipeline to create a high-quality, historically accurate, and game-optimized tank model.
My responsibilities included:
— Conducting additional research and gathering reference materials.
— Performing meticulous camera matching across multiple views to ensure geometrical consistency.
— Reconstructing missing parts that were not directly observable.
— Creating high-poly, artifact-free models using full Sub-D modeling with exaggerated bevels to ensure proper normal map baking and preserve intricate details.
— Developing an efficient low-poly model and UV mapping to minimize aliasing and facilitate seamless tiling of camouflage textures.
— Baking textures with consideration for Level of Detail (LODs).
— Texturing for Layered Shader: Painting texture masks to simulate dirt, rust, and scratches.
— Creating LOD and proxy objects.
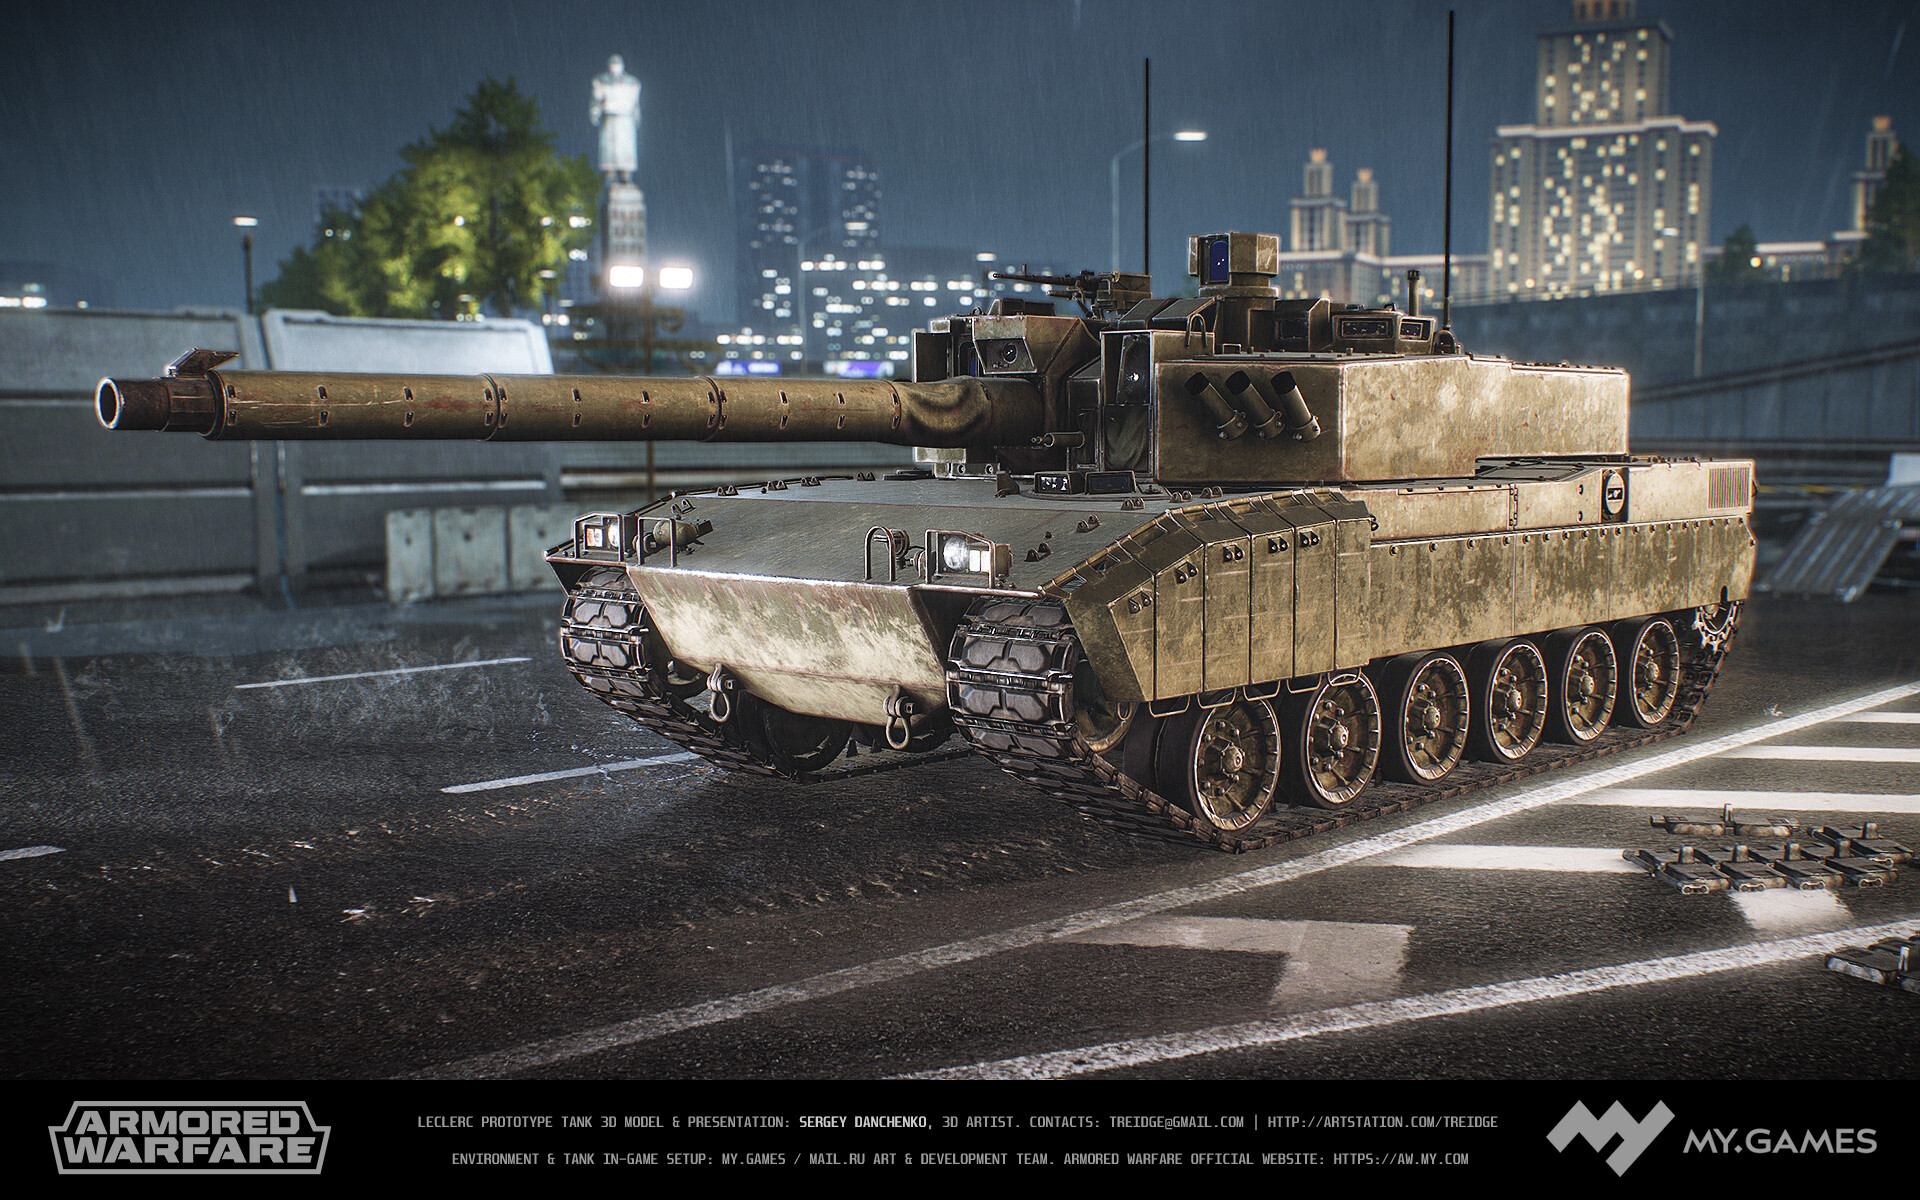
In-Engine View (Post-Processed) from Game Version 0.29. Kudos to the Art Team for their awesome work on the environment!

Don't miss captions under images. Breakdown part 1: https://www.artstation.com/artwork/EVGwen

Lowpoly modeling was pretty straightforward. Cylindrical shapes with a reasonable yet substantial count of segments and careful distribution of triangles made a good base for a proper game-ready model.

Notice how model is adequately shaded even without the normal map — it is important to keep it this way so normal map will not be relied upon to compensate shading issues. Avoid overly long and thin triangles by introducing additional edges and splits.


It is a good idea to layout your UVs in a way that will allow almost seamless rendering of tiling textures applied over the model. AW uses a lot of camouflage textures — it will be hardly possible to customize them for every tank individually.

On a model that uses several materials and texture sets, each with its own UVs, it is important to keep consistent texel density throughout the entire model. Know your target texel density ahead of time and plan around that knowledge accordingly.

Good UV mapping should have consistent orientation of UV shells in regards to the world space. Use UV checker textures with arrows (sometime called "gravity direction checker") for a visual clue. Some textures can have apparent directionality to them.

When baking the ambient occlusion map, account for parts and details that can move or rotate. For bake purposes you can substitute some geometry with proxy meshes that will represent its generalized volume to create approximation of ambient occlusion.

Minimize gradients in baked normal map by keeping lowpoly model shading close to highpoly's one. Cut your UV shells accordingly. Normal map with little gradients will compress better. LOD models using the same normal map will also greatly benefit from it.


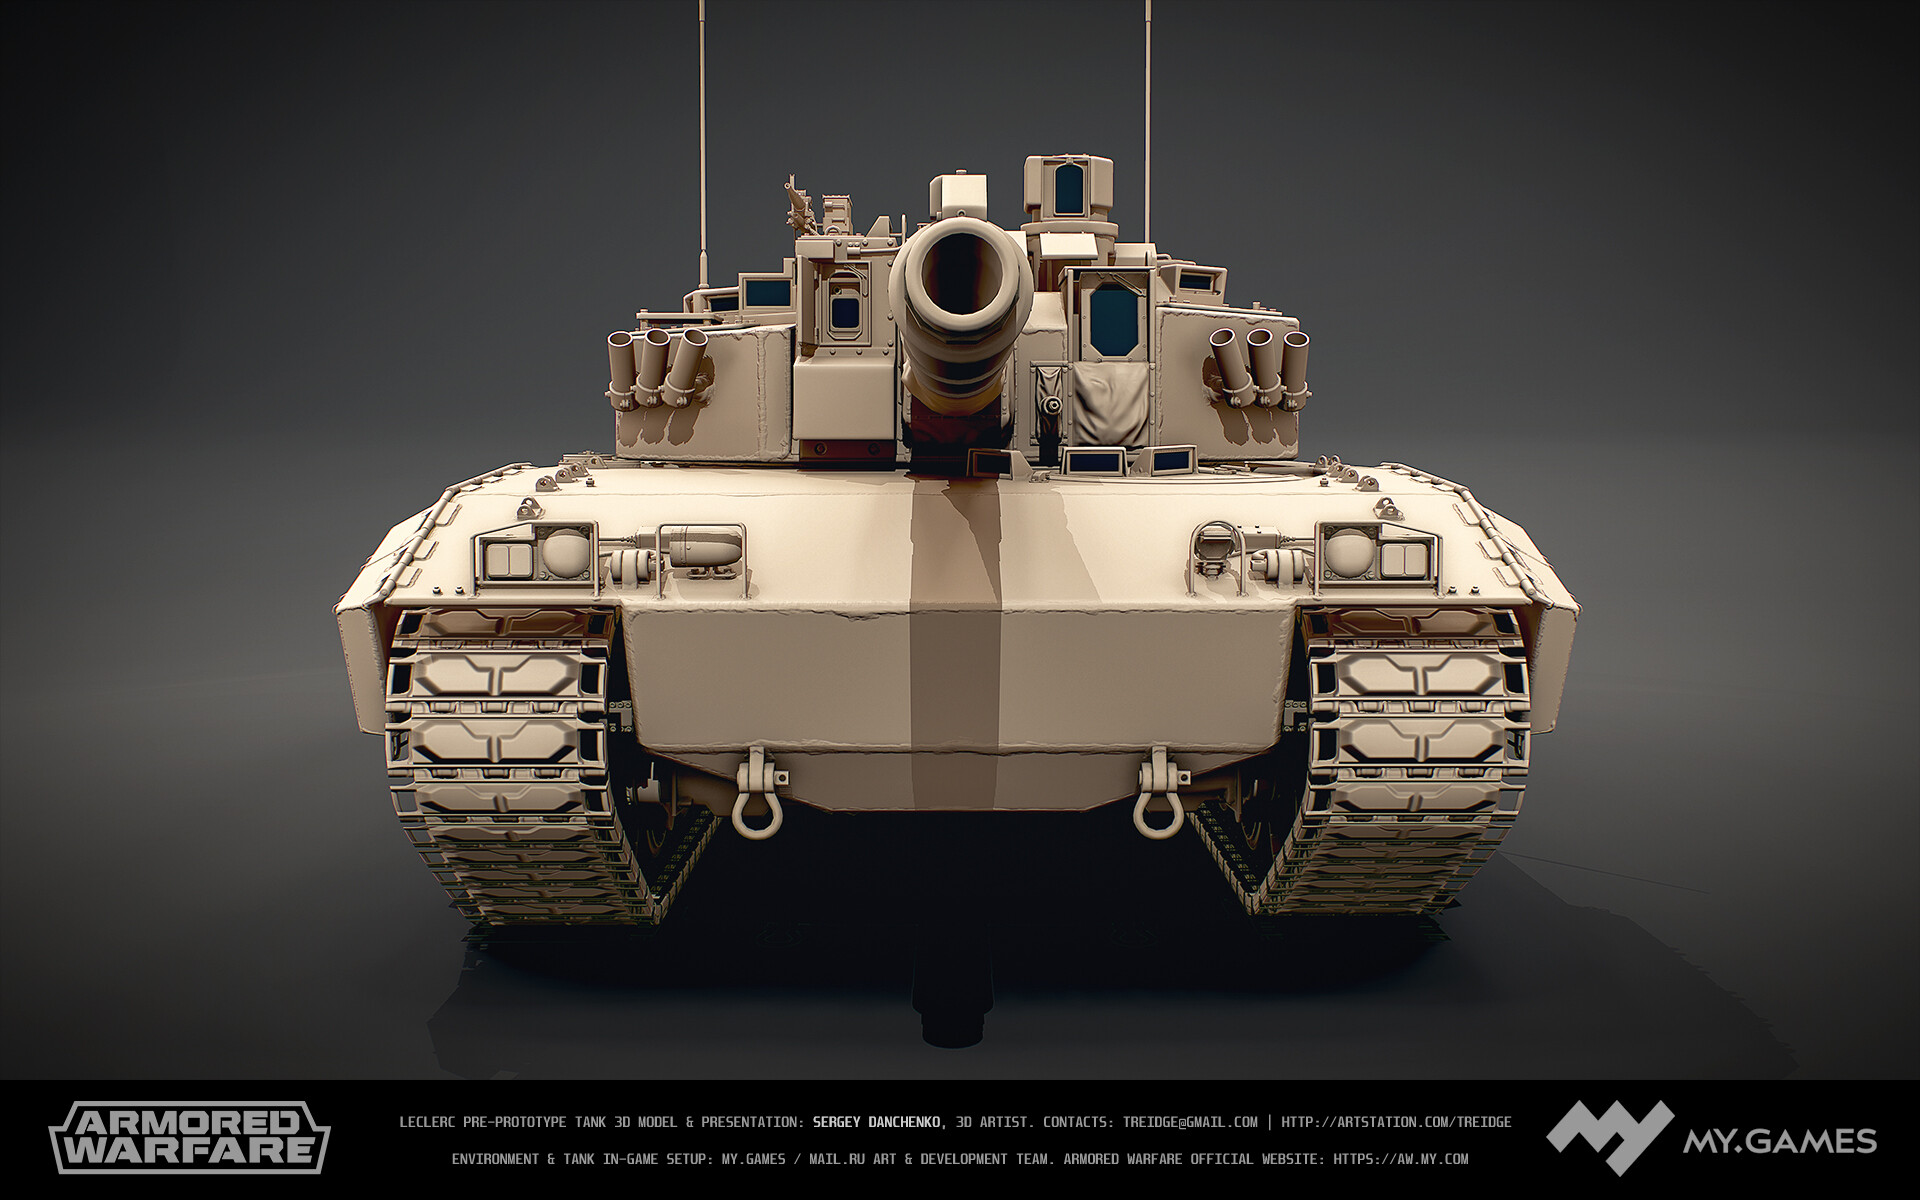
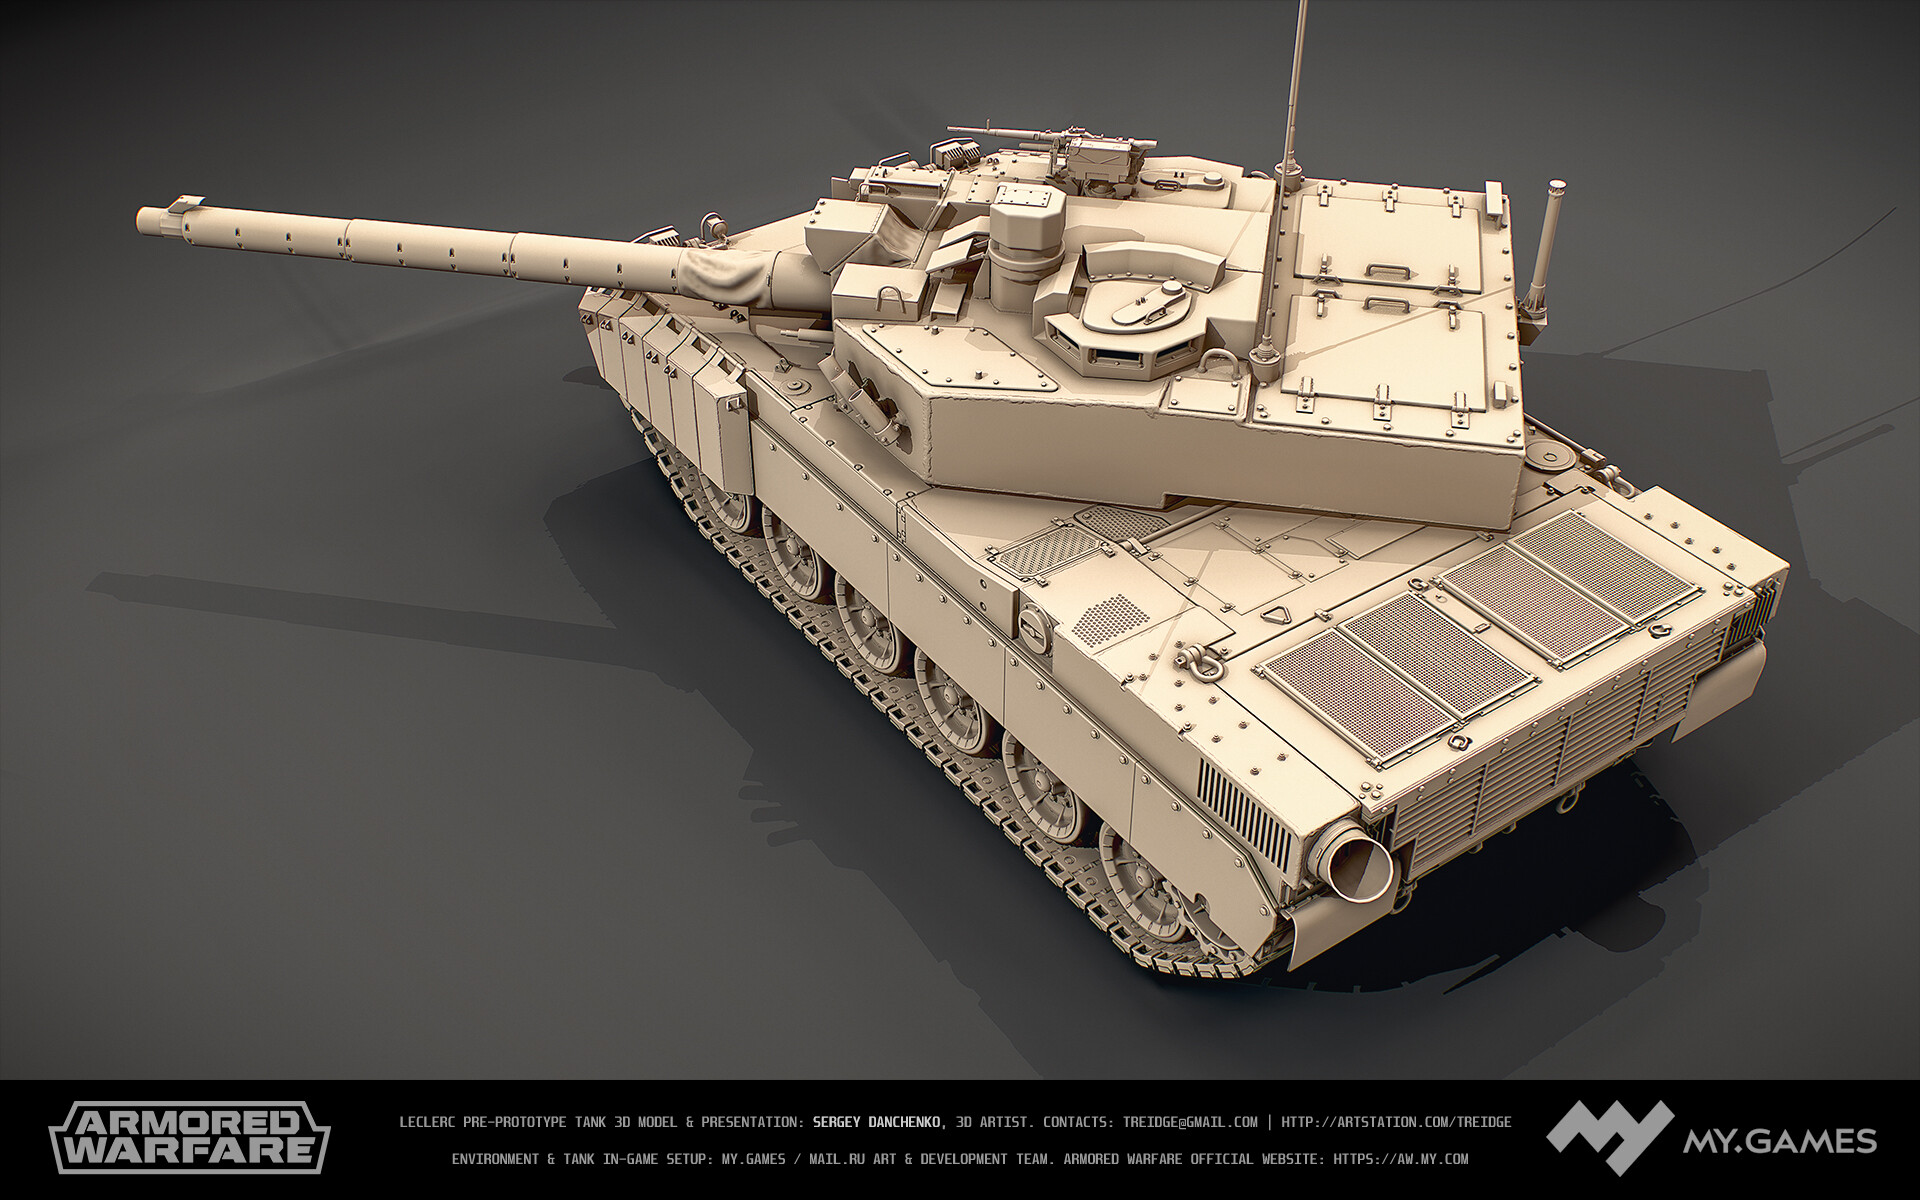
Here's the lowpoly model with normal map applied and weld seams painted. All previous efforts start to come together — notice how this lowpoly model looks pretty much like highpoly one.

Wireframe overlaid on top of lowpoly with normal map applied.

Almost no sharp edges visible — exaggerated smoothness of highpoly paid out.

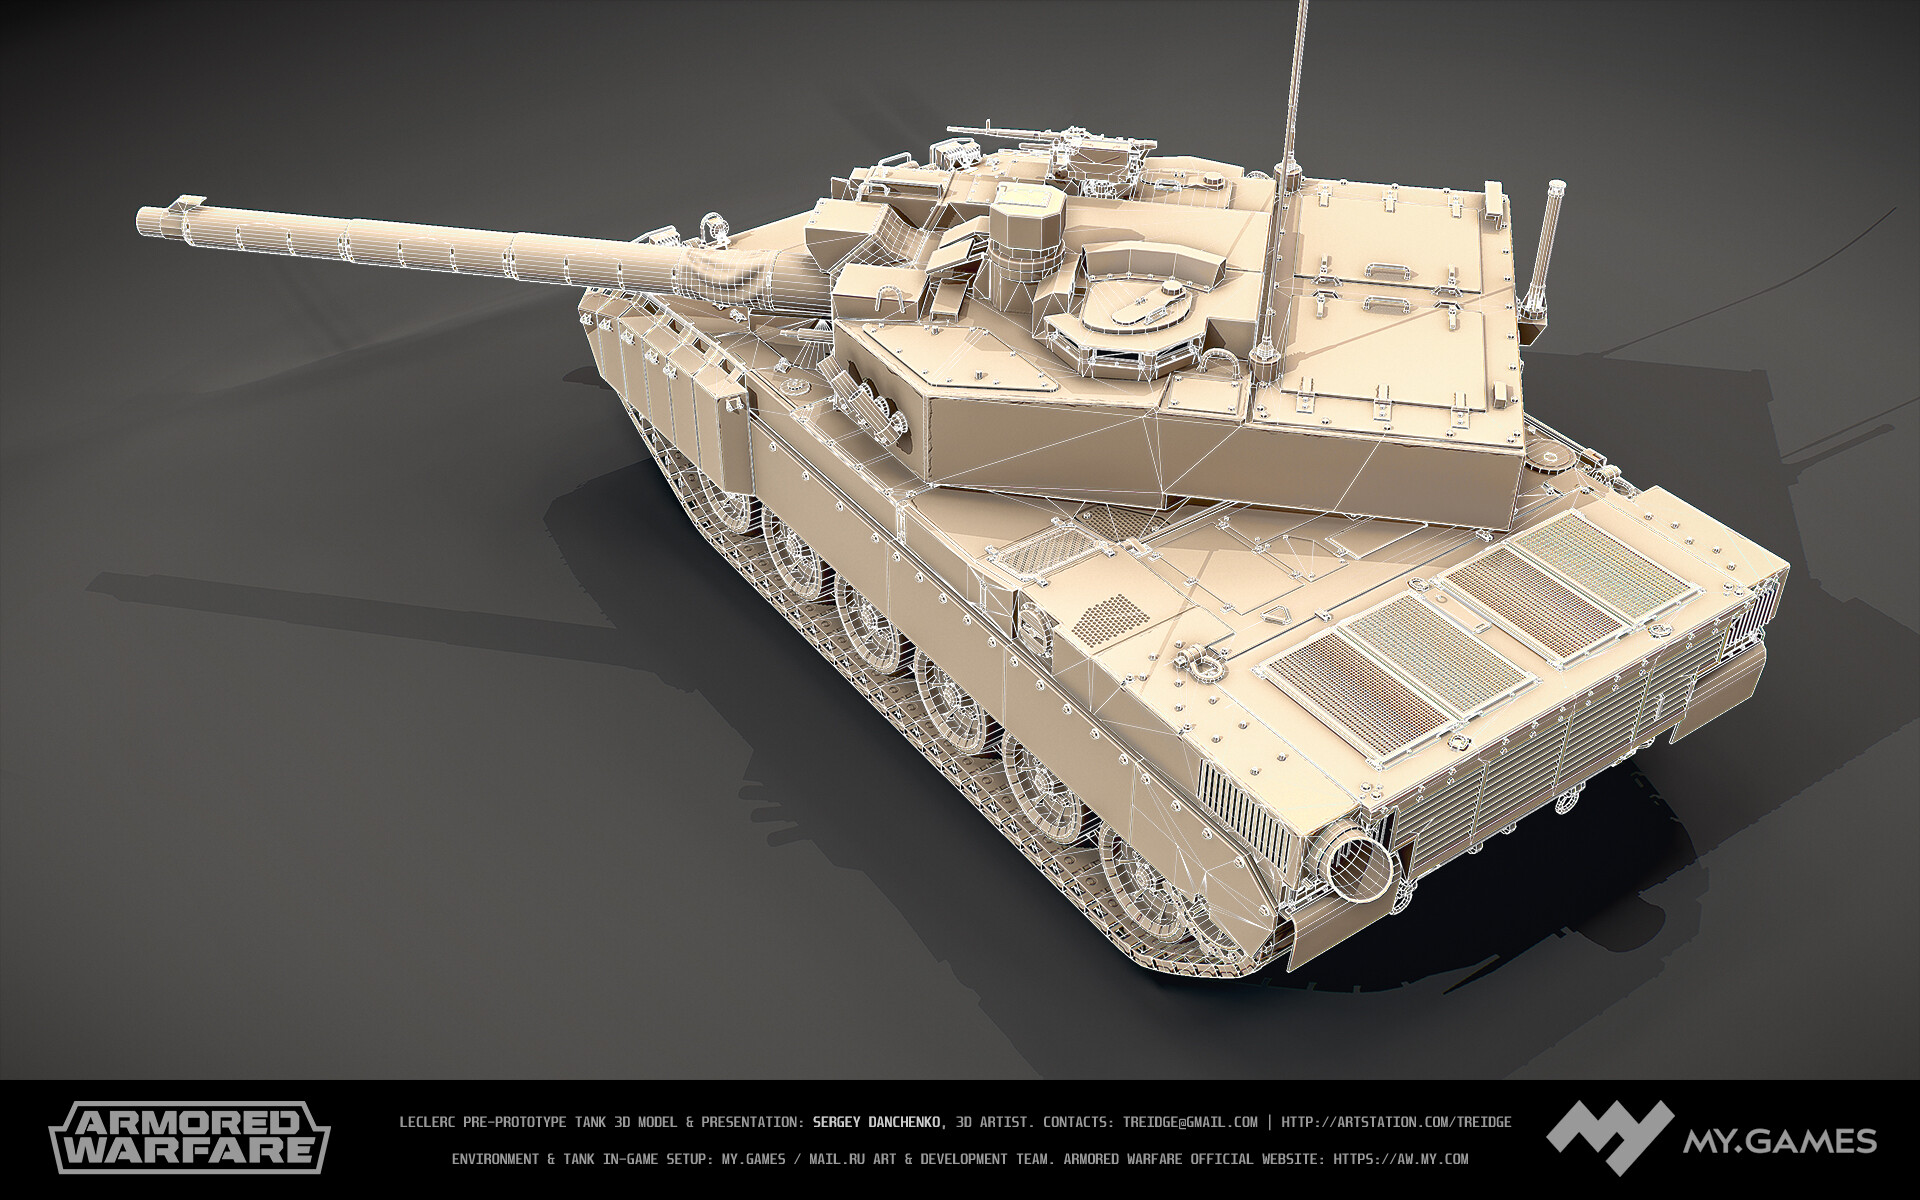
Wireframe overlaid on top of lowpoly with normal map applied.
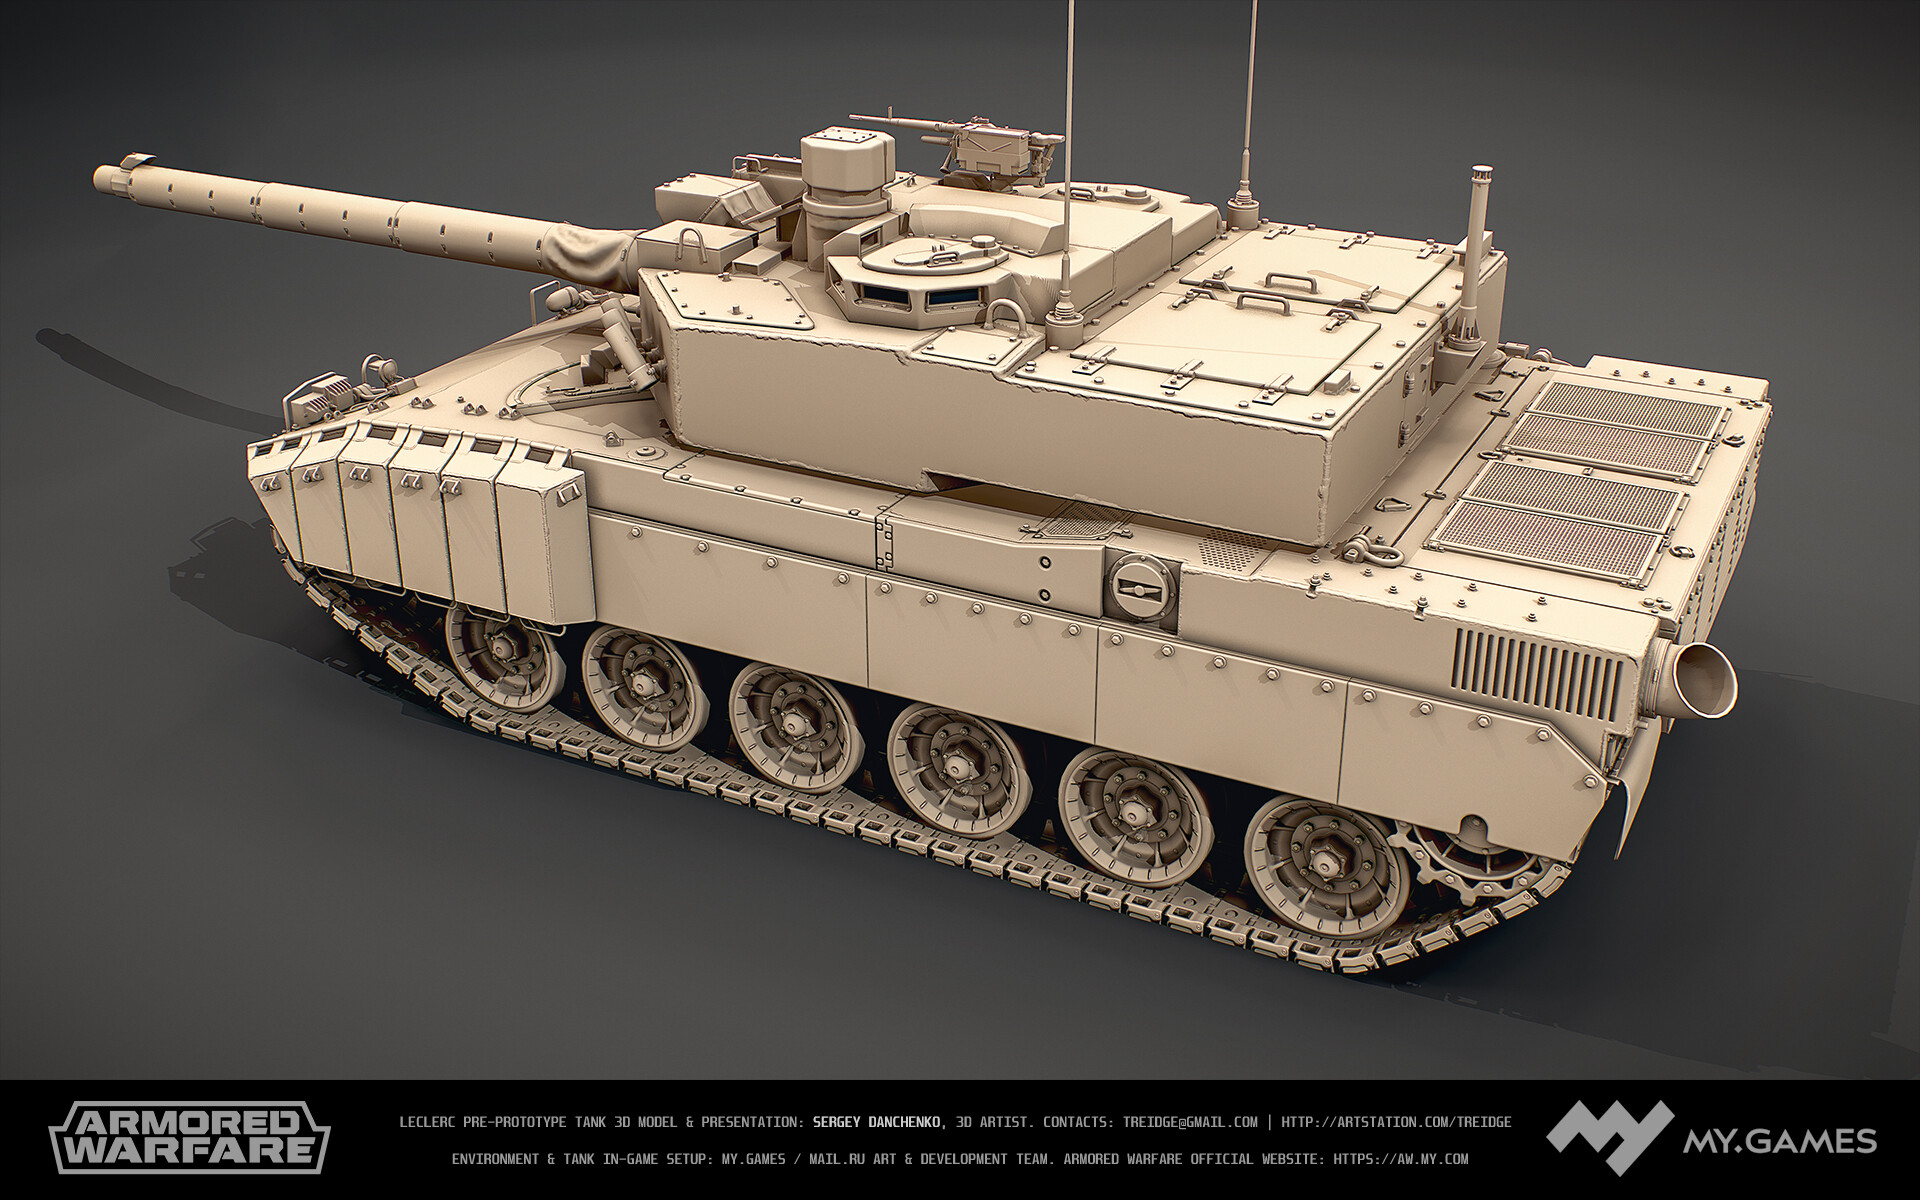

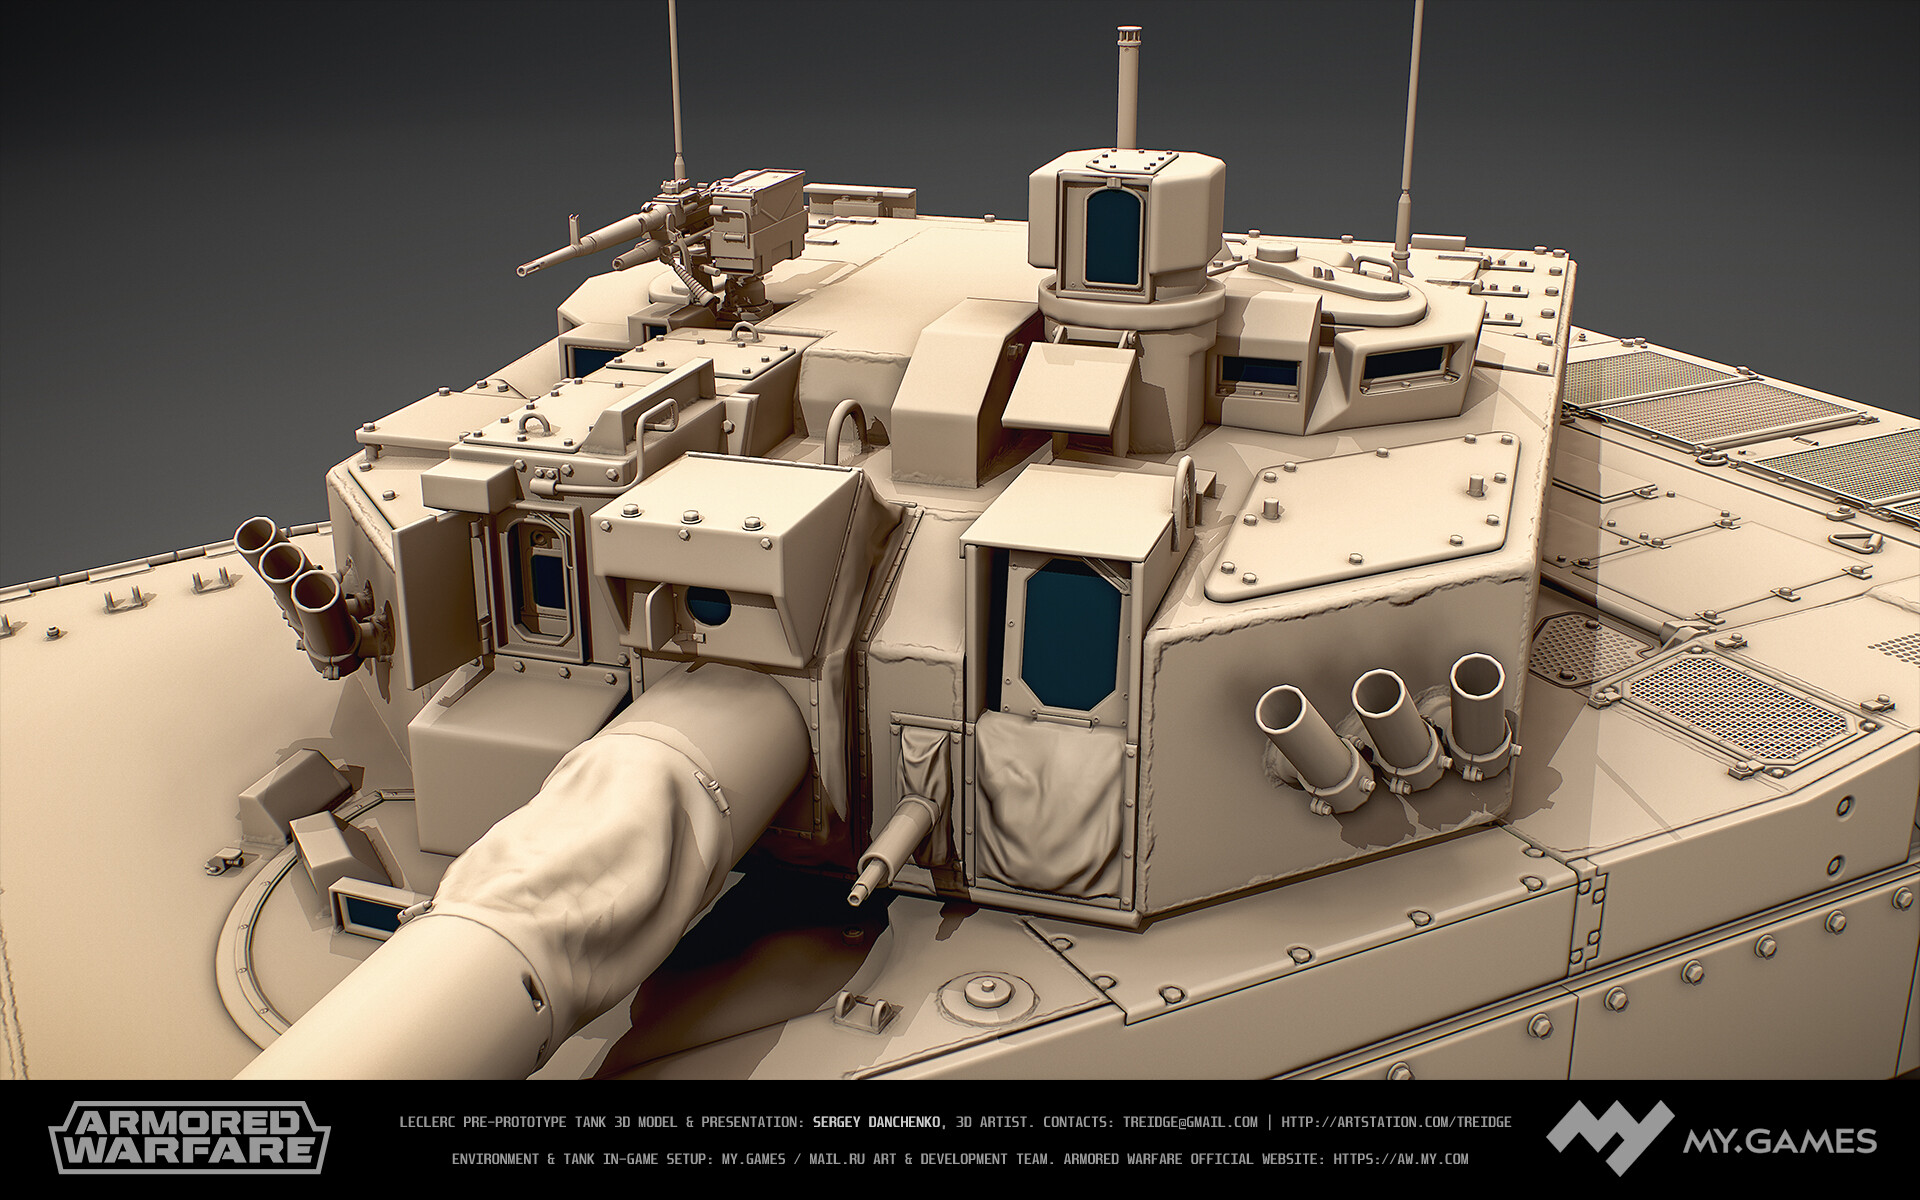
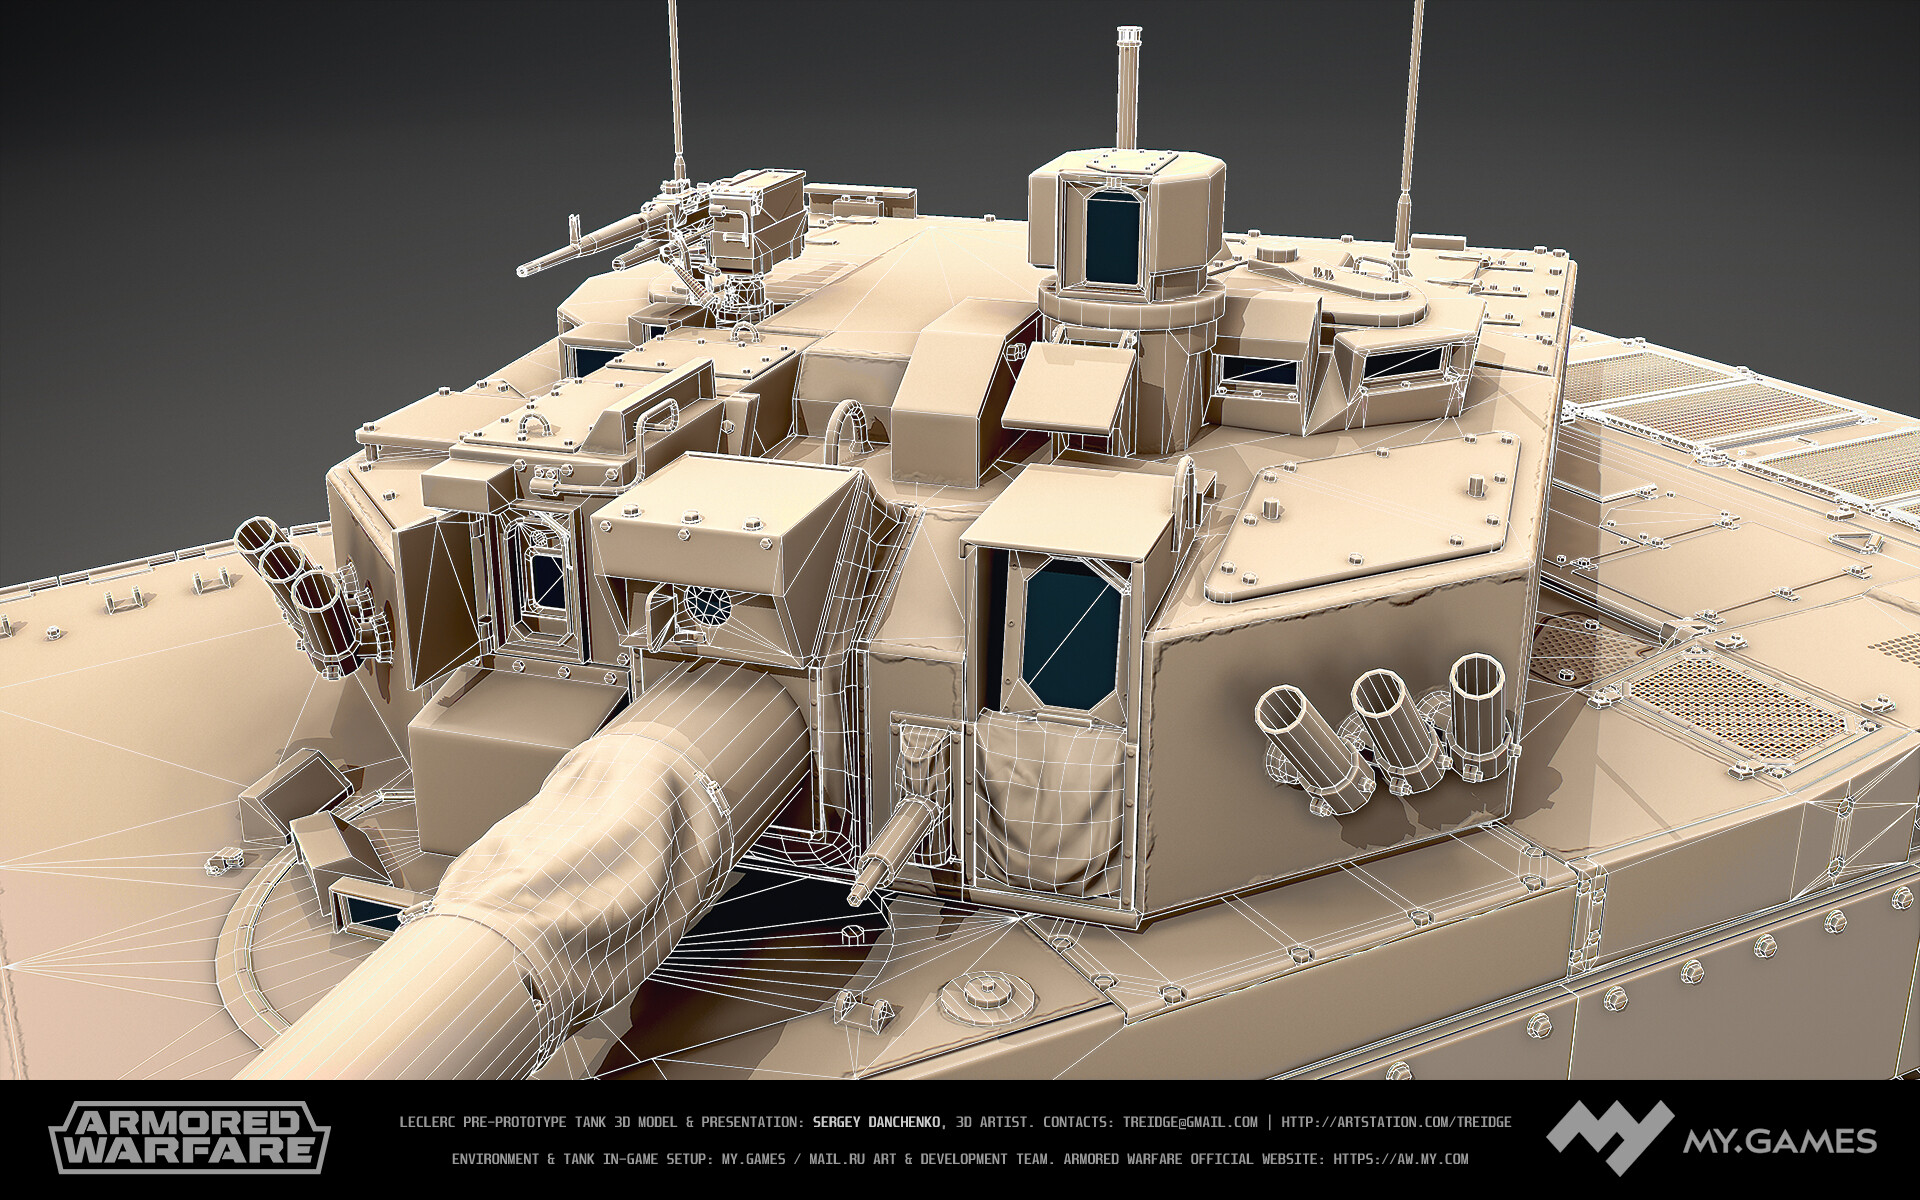


For LOD models, the priority is to keep larger forms and silhouette, while simplifying or deleting smaller details. Some small items like bolts and panels, while having their own geometry in LOD0, can also be baked into normal map right underneath them.

Some parts of the tank will not be simplified further upon reaching a certain triangle count threshold.

Damaged state model is basically the same geometry with some elements deleted and some dislocated, bent, torn off or rotated out of place.

Track geometry loop cut specifically to match texture.

Breakdown Part 1: https://www.artstation.com/artwork/EVGwen

More beauty shots here: https://www.artstation.com/artwork/58lm4w
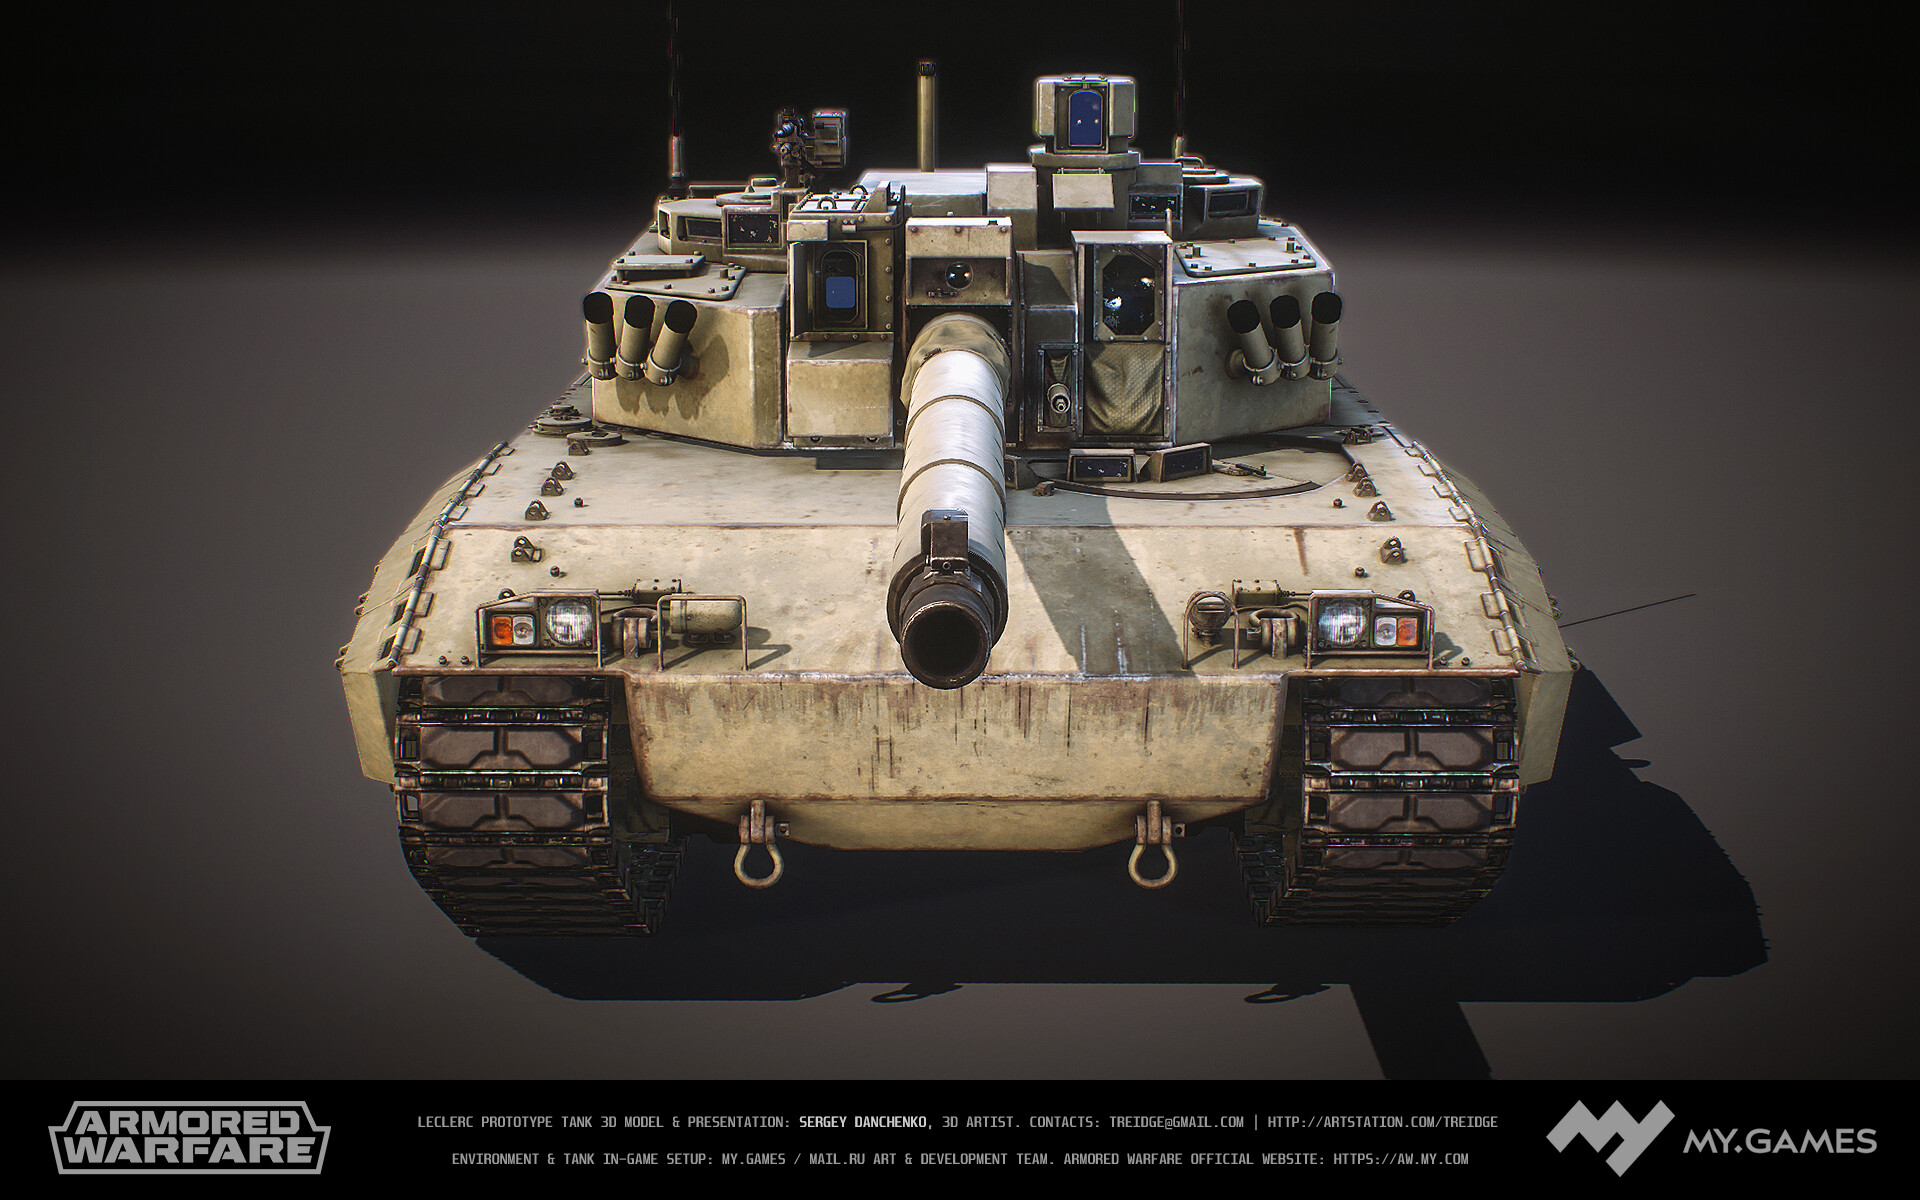
More beauty shots here: https://www.artstation.com/artwork/58lm4w

More beauty shots here: https://www.artstation.com/artwork/58lm4w

More beauty shots here: https://www.artstation.com/artwork/58lm4w
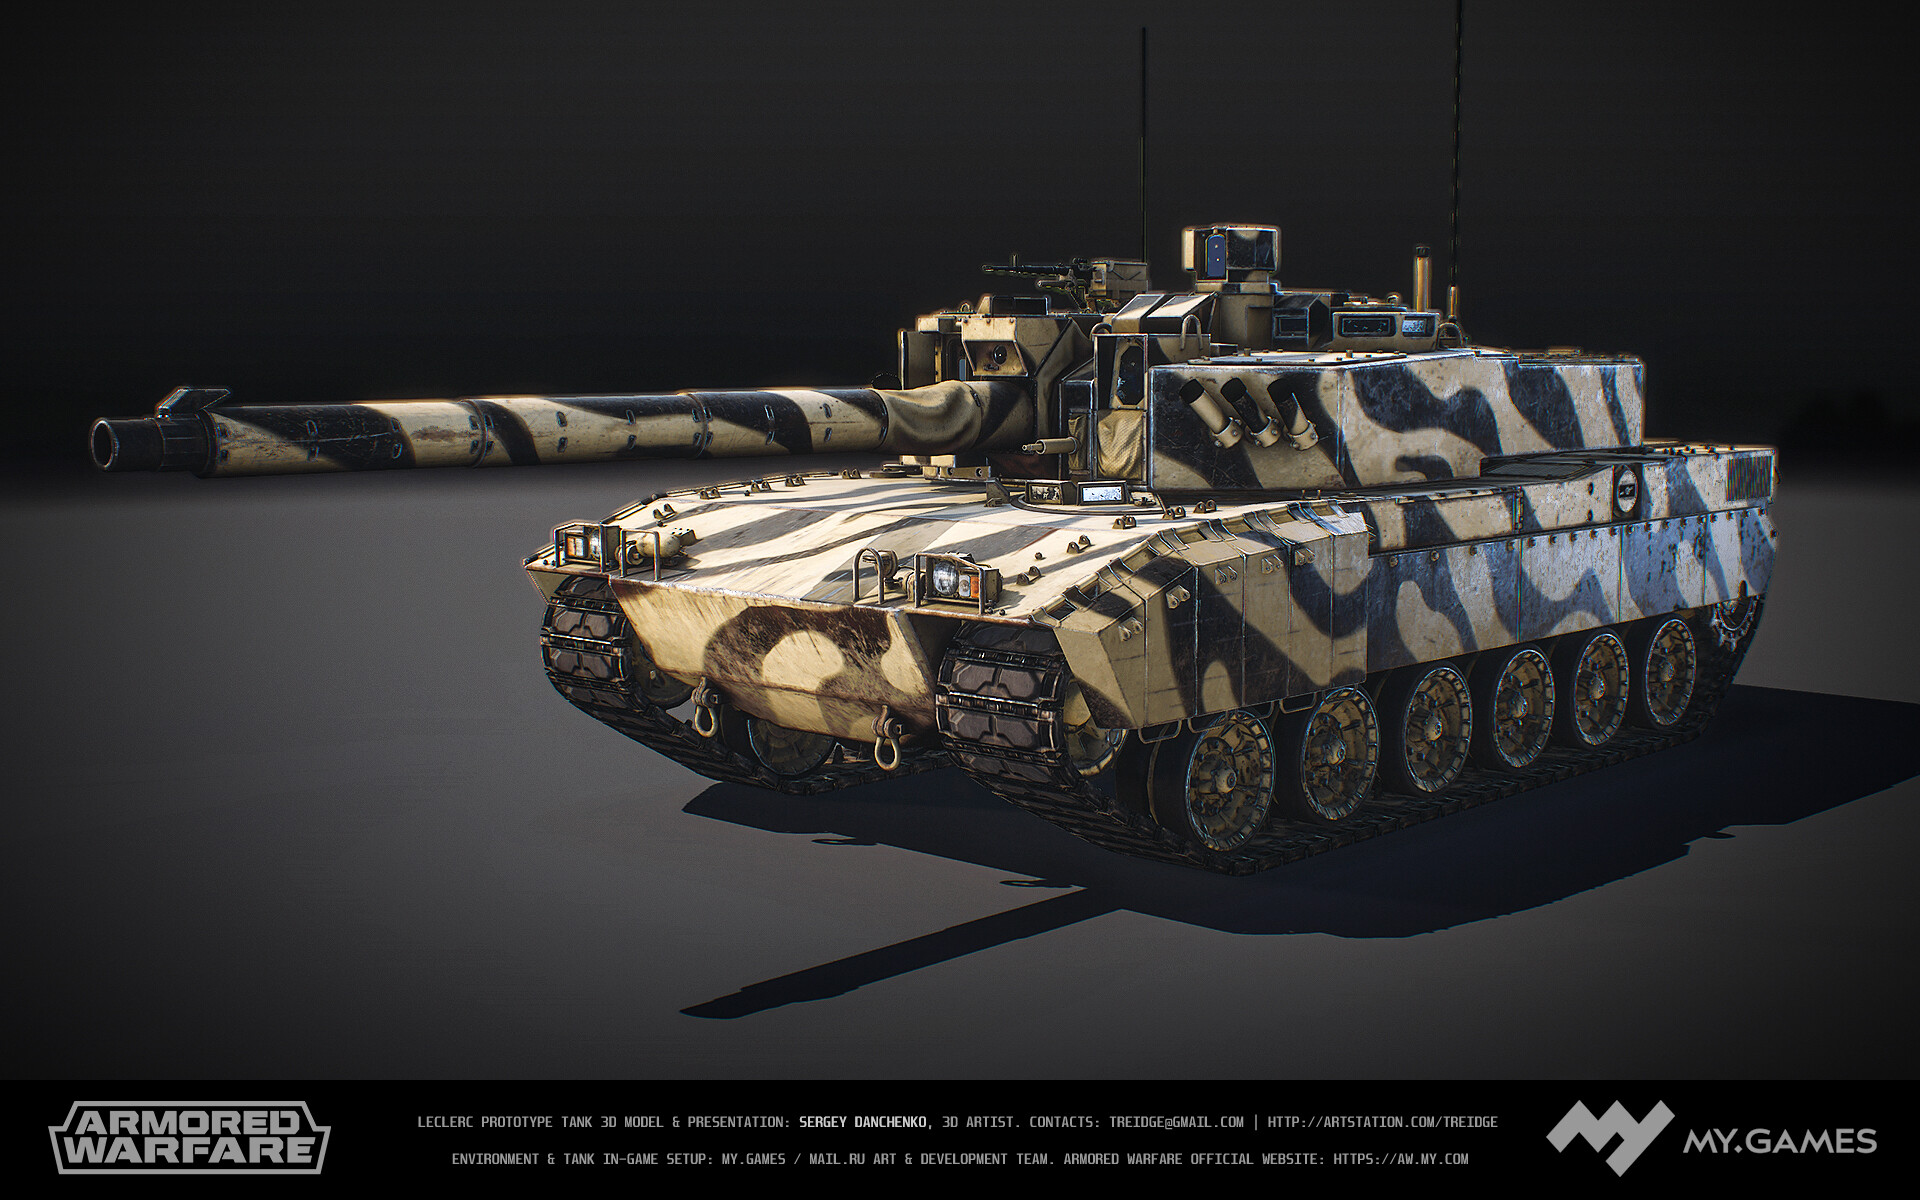
More beauty shots here: https://www.artstation.com/artwork/58lm4w